iMac G3 (slot-loading) speaker replacement
The problem
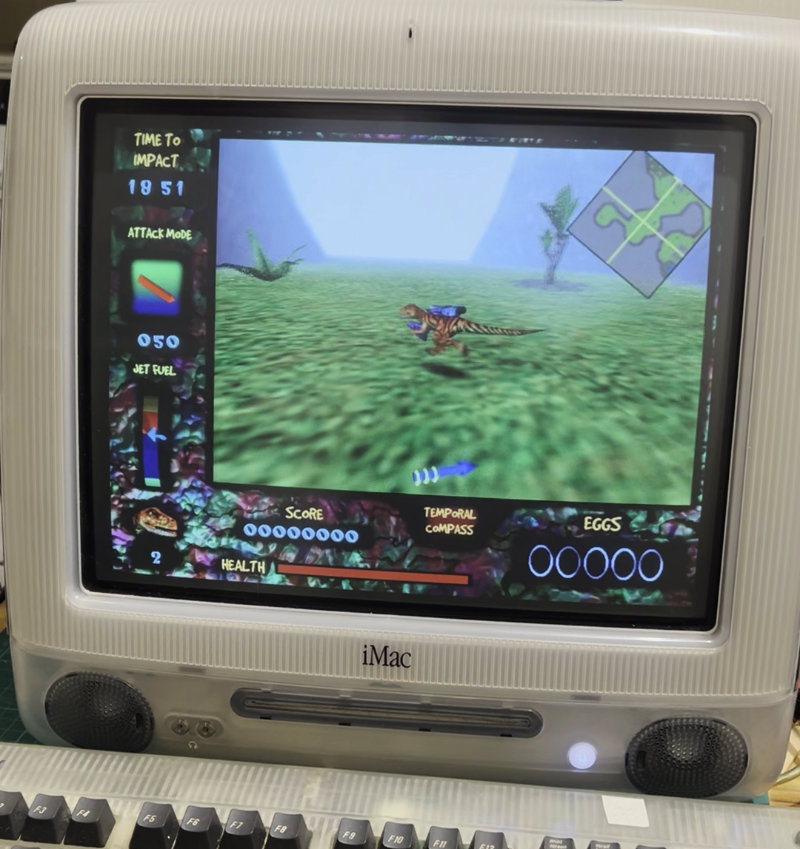
A few months ago, I had some friends round for a hardcore Nanosaur (possibly the greatest game ever) playing session. Eager to impress, I cranked the volume on my 600 MHz Graphite iMac G3, only to hear a sad and disgusting fart sound coming from the speakers.
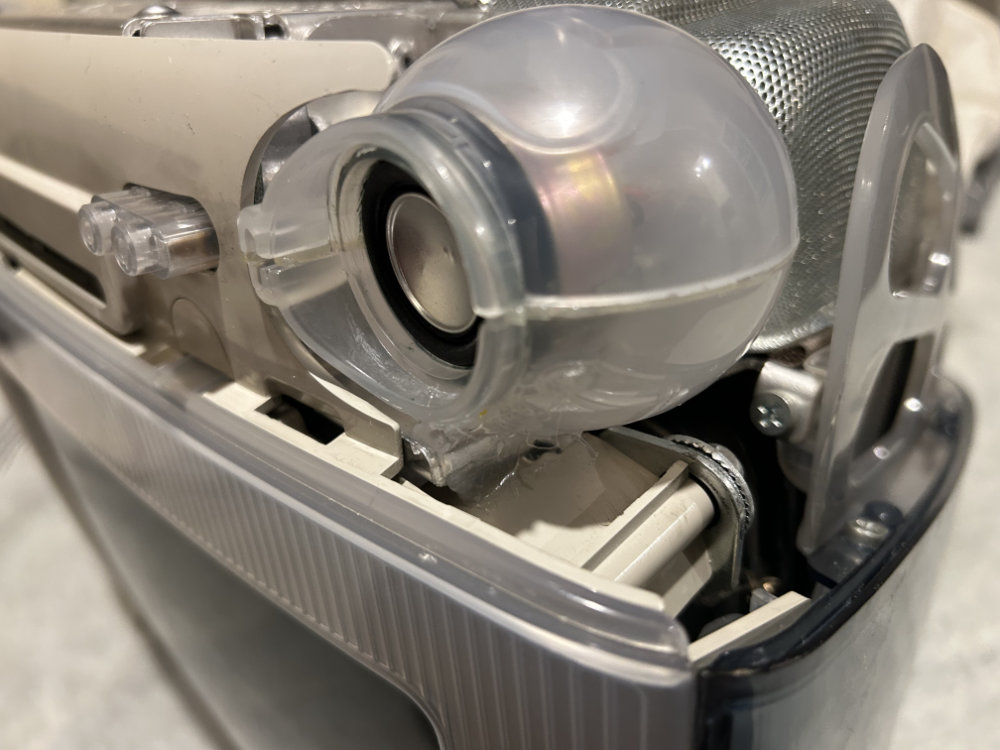
At first I panicked, thinking that I had caused some kind of electronic problem. Happily, after taking the bottom off the iMac the real problem became clear. The foam surrounds of the drivers had rotted over the last 24 years so the aluminium cones were just rattling around, presumably with the voice coil hitting the magnet as well.
The solution
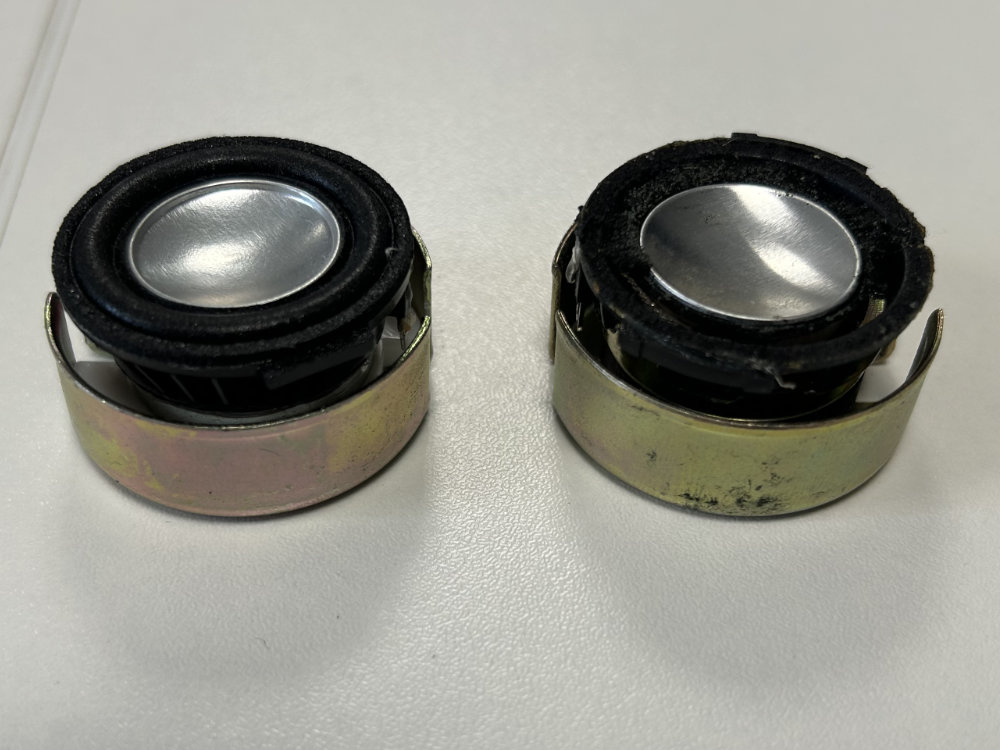
Obviously, the logical fix was a driver replacement. After some searching, I found this Reddit post, which suggested the Peerless PMT-30N18AL04-04 as a possible replacement. They are available from CPC for roughly £3 inc VAT at the time of writing.
As I currently own two Graphite iMac G3s (although one doesn’t turn on due to an issue I haven’t diagnosed, but that I suspect involves the power supply), I ordered 4 drivers so that I can do the replacement on both when I get round to sorting out the issues with the other one.
I also have two Bondi iMacs, but tray-loaders use different speakers that appear to have paper cones. I haven’t taken them out to check what the surround material is, but they aren’t round so these drivers wouldn’t be compatible anyway.
Project log
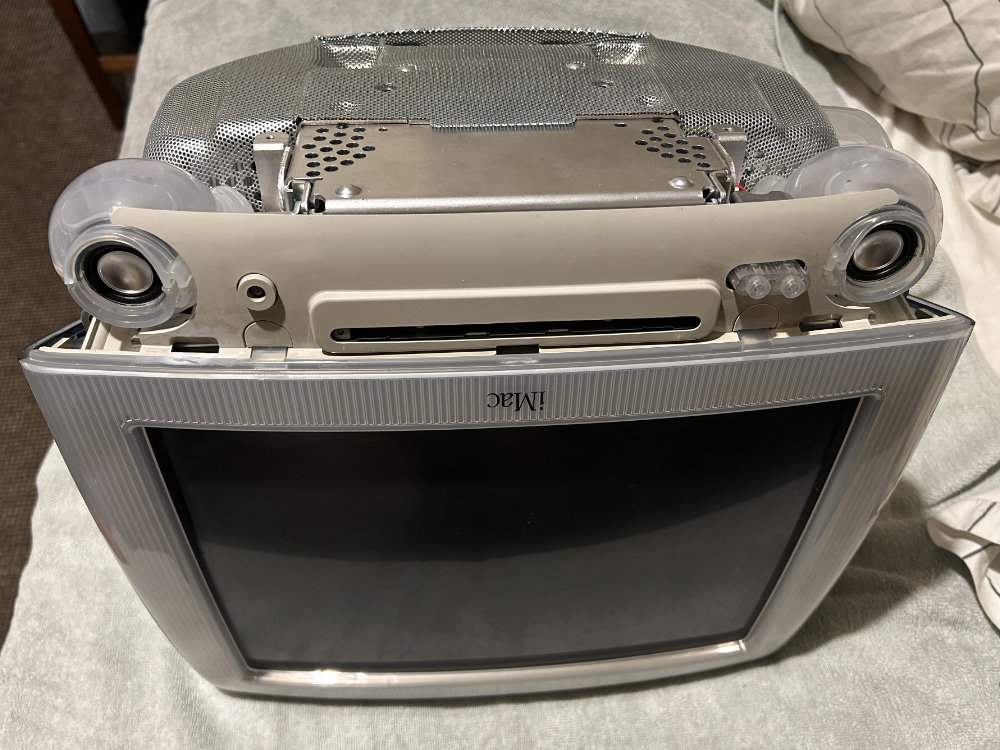
The first step is removing the speaker housings from the iMac G3. There’s some writing about this online, but I won’t be writing a guide myself because I managed to break both (all the clips from one, and the big clip from the other) when trying to remove them.
My second attempt on the other Graphite iMac was more successful. I recommend heating the plastic up a bit with a hairdryer or heat gun so it’s more flexible, and using a curved metal implement such as a closed pair of tweezers to push the larger, hooked tab out of its hole before trying to pull the speakers out.
They are still hard to remove due to the adhesive on the foam pads holding them down. Perhaps one could inject some isopropyl alcohol to break down the adhesive before attempting removal.
Anyway, this method worked, although I think the graphite-coloured plastic might have been more flexible than the milky-coloured plastic of the ones I managed to break.
My solution to the broken plastic, after my attempts to glue the pieces back on had failed, was to 3D print some new clips with thick mounting pegs. Although I had to drill holes in the housings to fit the new clips, the pegs meant that the new clips would stay attached and not break off when bent.
I had them printed by JLC3DP in various materials as I didn’t know what would be best. It turned out to be SLS-printed 3301PA Nylon, which is white and pretty tough and flexible. I also tried a couple of resins - which were way too brittle - and MJF-printed PA11-HP Nylon, which was mechanically acceptable but grey. It might be a good choice for graphite-coloured speaker housings.
When they arrived, I set about replacing the clips. I drilled the holes by holding a chuck in my hand, starting from a dimple I made using a soldering iron. It’s quite difficult to drill the hole for the large clip because the plastic underneath it is very thick. I had to file it on both and it ended up being quite a bit bigger than needed.
The stem of a plastic cotton bud made a decent shim to allow me to place the clip in the right position before dripping some thin cyanoacrylate (CA) adhesive (superglue) on to hold everything in place. I then filled the gaps with CA adhesive and sodium bicarbonate (baking soda) and filed off the excess. It’s important not to leave holes, or else the speaker housings won’t be sealed.
The repair is pretty ugly to say the least, but you can’t see it from the outside and it works from a mechanical standpoint, which is the best I could hope for at this stage.
Unfortunately, I messed up the design of the large clip a bit and made it too thick, so I had to file them down to make the speaker housings fit.
I should have measured the intact speaker housings from the other iMac but I was afraid to remove them at the point when I designed the clips, so I measured the broken ones and had to do some guessing to fill in the gaps. I’ve updated the model but I can’t promise they’re correct as I have no way to test my changes.
After the speaker housings were repaired, the next step (which should have been the first step, but you know how these things often go) was to replace the drivers.
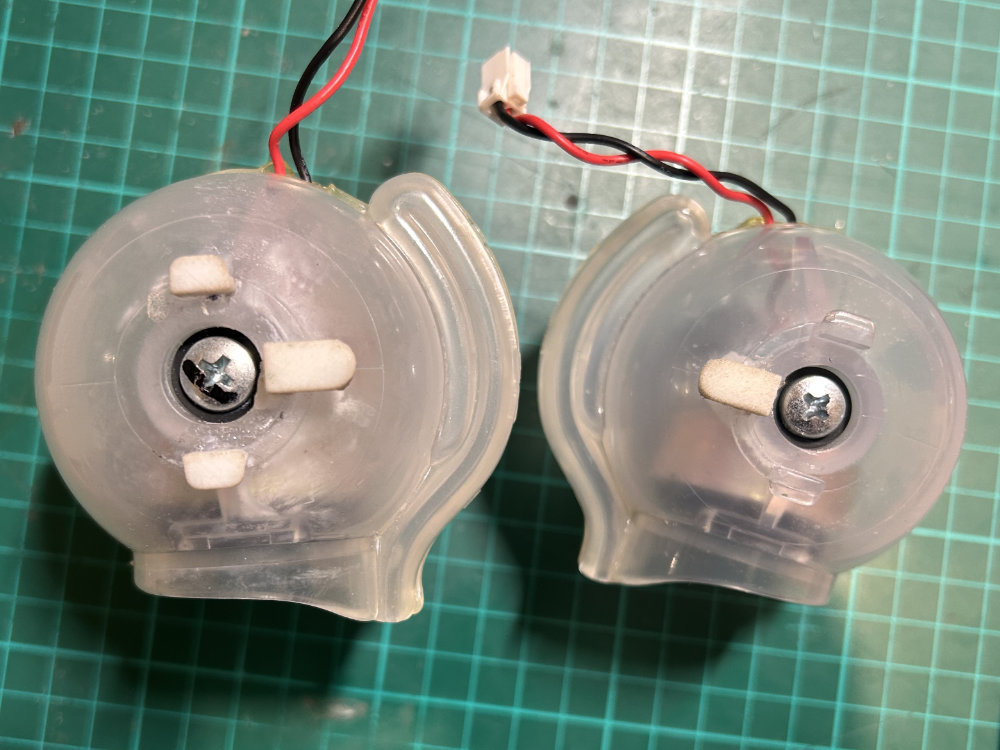
First of all, the connectors on the original speaker leads don’t fit very well on the new drivers, so I took the terminals from the original speakers and soldered them on to the new speakers (which required a little bit of plastic-melting ‘persuasion’). Once the terminals were in place I added a very small amount of CA adhesive to make sure they didn’t fall out.
After this, I clipped the plastic tabs that protrude from the new drivers off with a pair of snips, as they foul on the speaker housings. The original drivers have plastic tabs as well, but they aren’t in the same place.
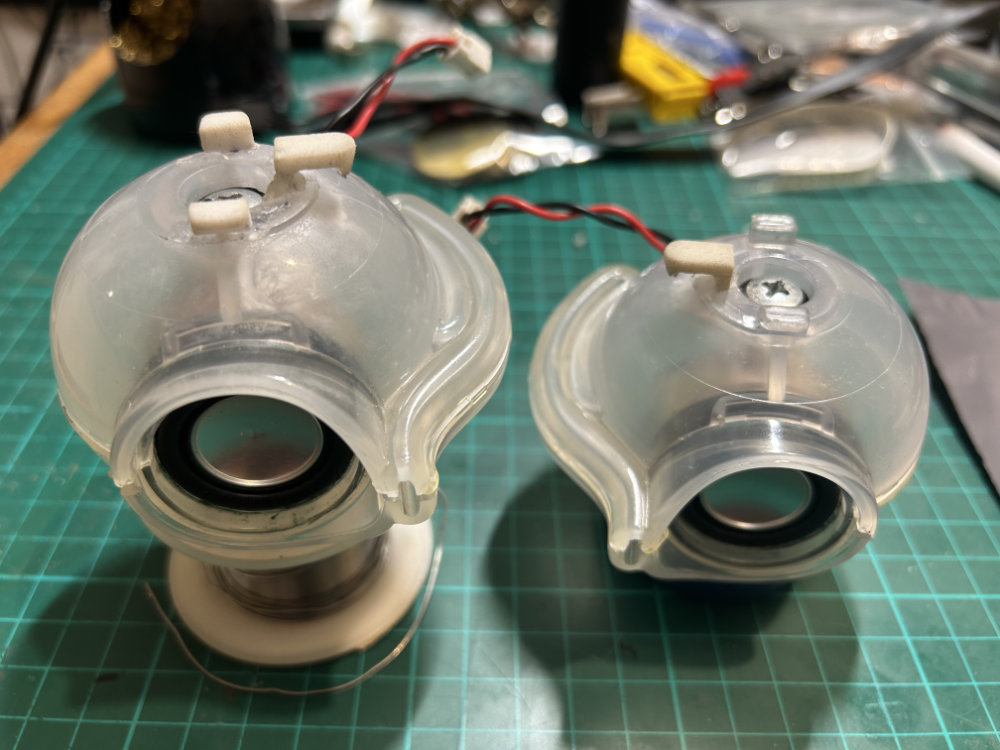
The next problem was that the original drivers have magnetic shielding and are roughly 19 mm thick, whereas the new drivers lack magnetic shielding and are approximately 15 mm thick.
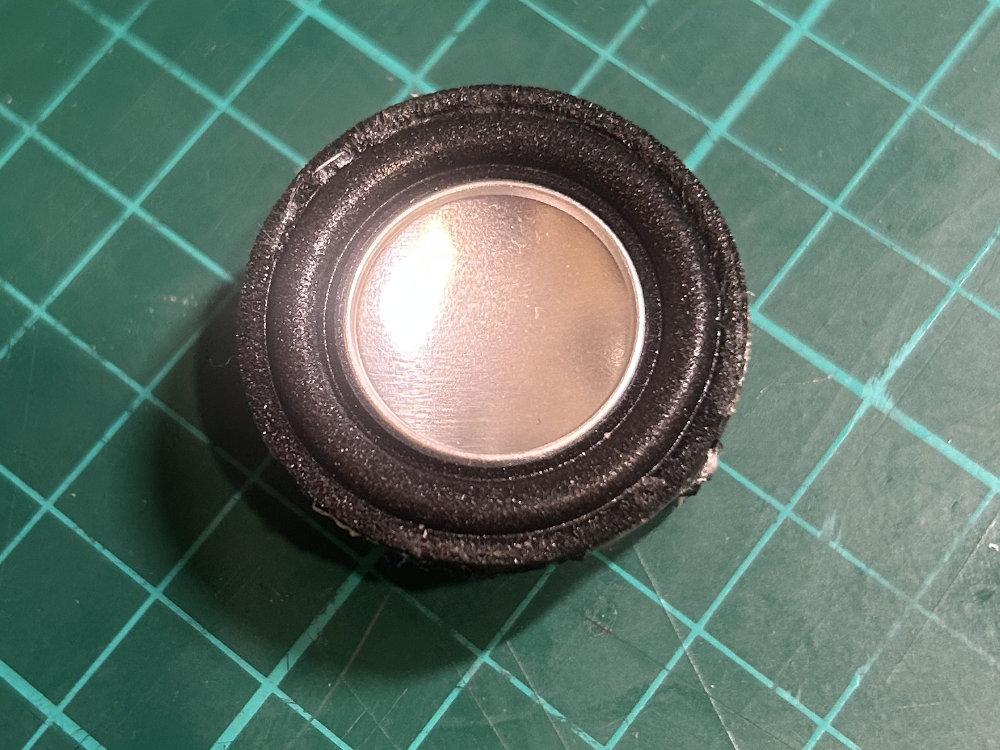
I didn’t want to have to glue the new drivers in to the surrounds, so I decided to break the old drivers out of the magnetic shielding by putting a screwdriver into the gap between the shielding and the magnet and then hitting it with a hammer (elegant, I know). A couple of sharp taps and the magnets broke out cleanly.
Measuring the shields with a digital caliper told me that they were 1.3 mm thick, so I had 2.7 mm of space to fill between the inside of the shield and the back of the new driver. At first, I tried to use a bit of foam tape but I wasn’t happy with the result, as it was either loose or required too much forcing to get it into the speaker housing.
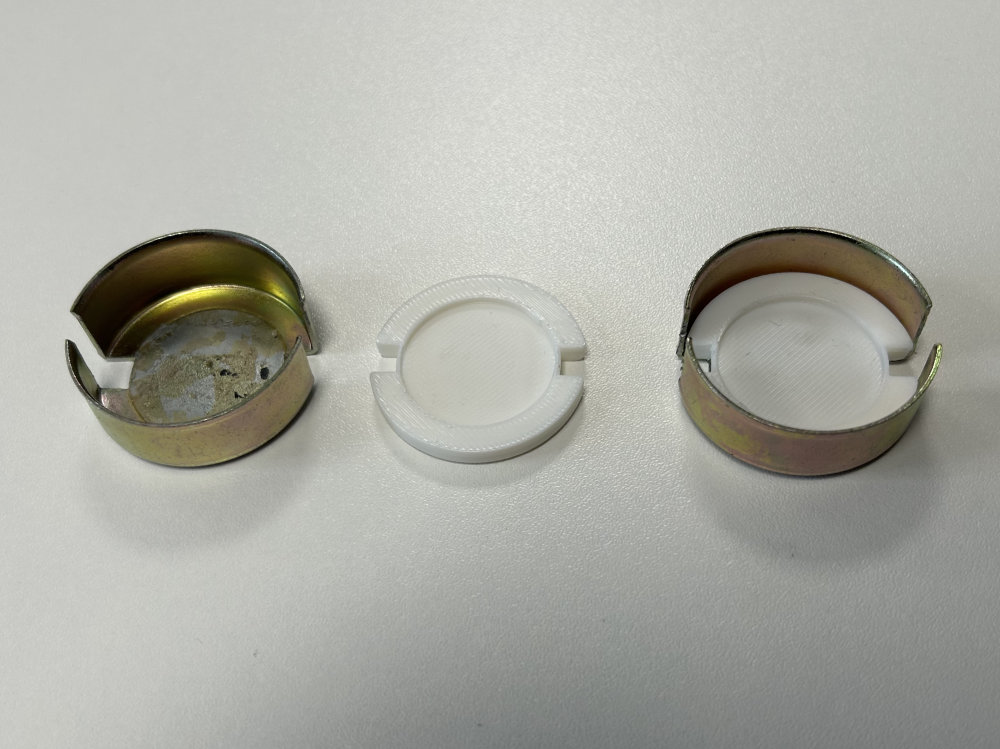
Happily, I have access to 3D printing through a Maker Space, so I quickly knocked up a shim piece in Rhino and printed four of them. With these pieces, the stack of shield, shim and driver is 19 mm tall so fits perfectly in the speaker housings.
I did one set using double-sided tape and one with CA adhesive, neither of which stuck brilliantly. It doesn’t matter though because the speaker housings themselves push everything together. Marking all the parts to show the polarity is a good idea so you don’t mix it up during assembly.
Connecting the wires proved a little bit difficult but some light persuasion with tweezers helped a lot. After that, I just screwed the housings back together, making sure to put the wires through in the same way as they were before I took them apart (take a picture first).
I then returned the speaker housings to the iMac, plugging them in before sliding the clips over the metal chassis. I applied some hot glue, which was a matter of pumping copious amounts in and then pushing it to where it needed to be with my finger. This stopped the speaker housings from wobbling, an issue as the new clips clearly aren’t quite as tight as the old ones.
Results
Finally, I booted the iMac, started a game of Nanosaur and was greeted with the glorious paleo-jazz fusion music in all its splendour. I think the new drivers are more sensitive than the old ones as they are verging on too loud even at half volume, and I can hear faint electrical noise that I don’t remember from before.
I thought this might be related to the lack of an electrical connection between the driver’s magnet and the shielding, but the ceramic magnets used in the original driver are non-conductive so this can’t be the problem. Perhaps twisting the wires more would help (probably not).
To conclude, this was a pretty successful project in that I now have good sound (if one ignores the noise) from my iMac, with no visual difference from the original (as long as you don’t look inside). As they say, you can’t make an omelette without breaking some eggs.
Downloads
You can download the 3D models in Rhino and STL/STEP format below.
| Piece | STL file | STEP file | Rhino file |
|---|---|---|---|
| Clip 1 | Download | Download | |
| Clip 2 | Download | Download | |
| Shim | Download | Download |
Conclusion
If you find any mistakes or anything I have overlooked in this article, or simply have comments, please contact me by emailing ivan @ the address of this website.