Crispy cornflake nests
or 'grown-up cornflake cakes'
DISCLAIMER
This is a recipe. Please make sure you are able to safely operate cooking equipment before attempting to follow it. Also, I bear no responsibility if the result is not to your taste, or fails to match your expectations!
Introduction
Here in Salford we have an amazing bargain shop called 'Save a Lot'. On the sign the L is a pound symbol so it's 'Save a £ot' - this is fine in my book because the £ sign is actually just a stylised L! I still always call it 'Save a Lot with a pound sign' though.
On my last trip in there, I saw some Kellogg's Special K cereal being sold without the boxes, just in the inner liners. I assume these are rejects from the Kellanova factory in Trafford Park. Seeing them reminded me of the cornflake cakes I used to eat as a child. Although I called them crispy cakes, everyone on the internet seems to call them cornflake cakes, which makes sense, because obviously the 'crispy' refers to Rice Krispies!
Anyway, Special K is kind of like a grown-up version of cornflakes - and also nearly half rice, so spiritually closer to Rice Krispies. It got me thinking that I could make a more adult version of the snack I enjoyed as a child. I'm calling them nests, because I think that's what Nigella Lawson would call them. However, if you want to sell a product based on this recipe, you will have to license it from me and call them Krazy Krispies™.
The nests
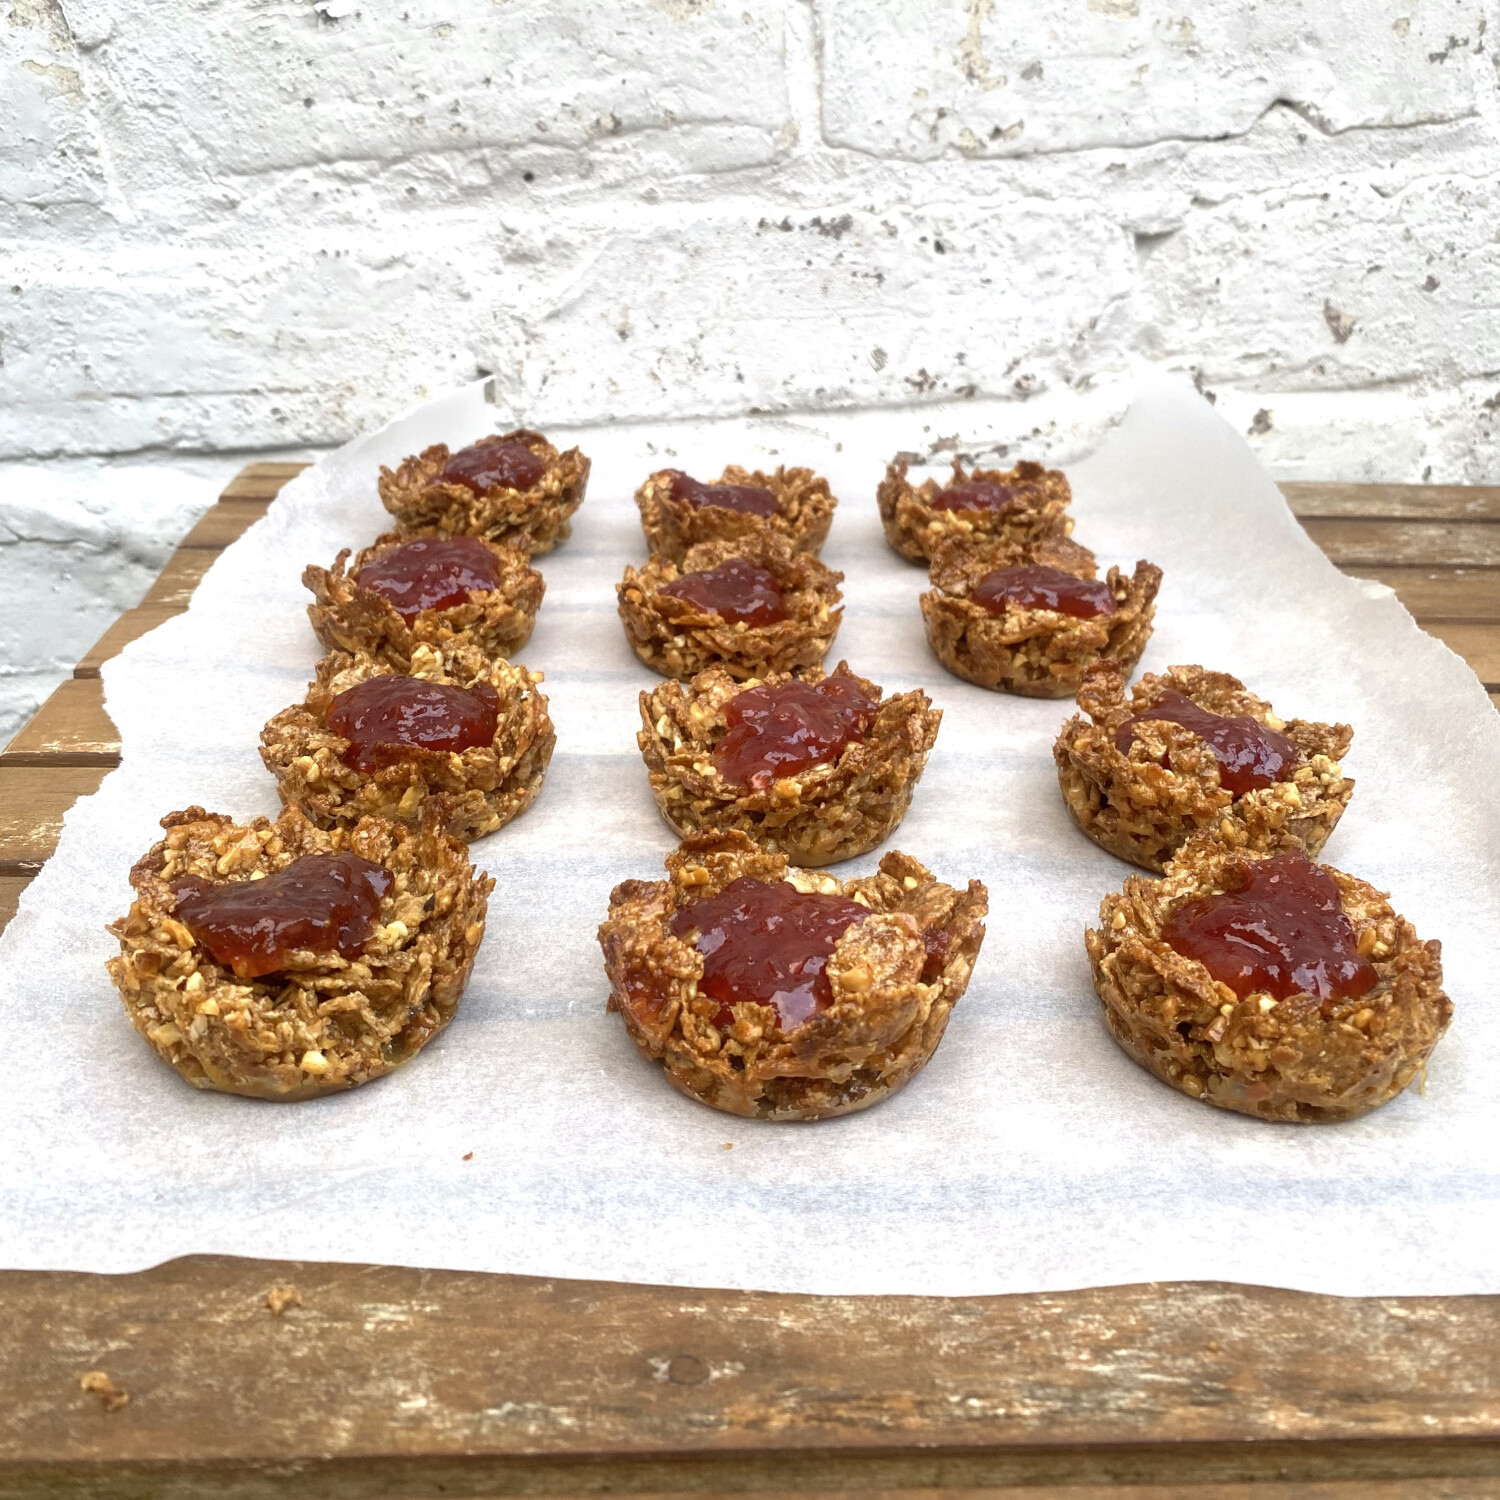
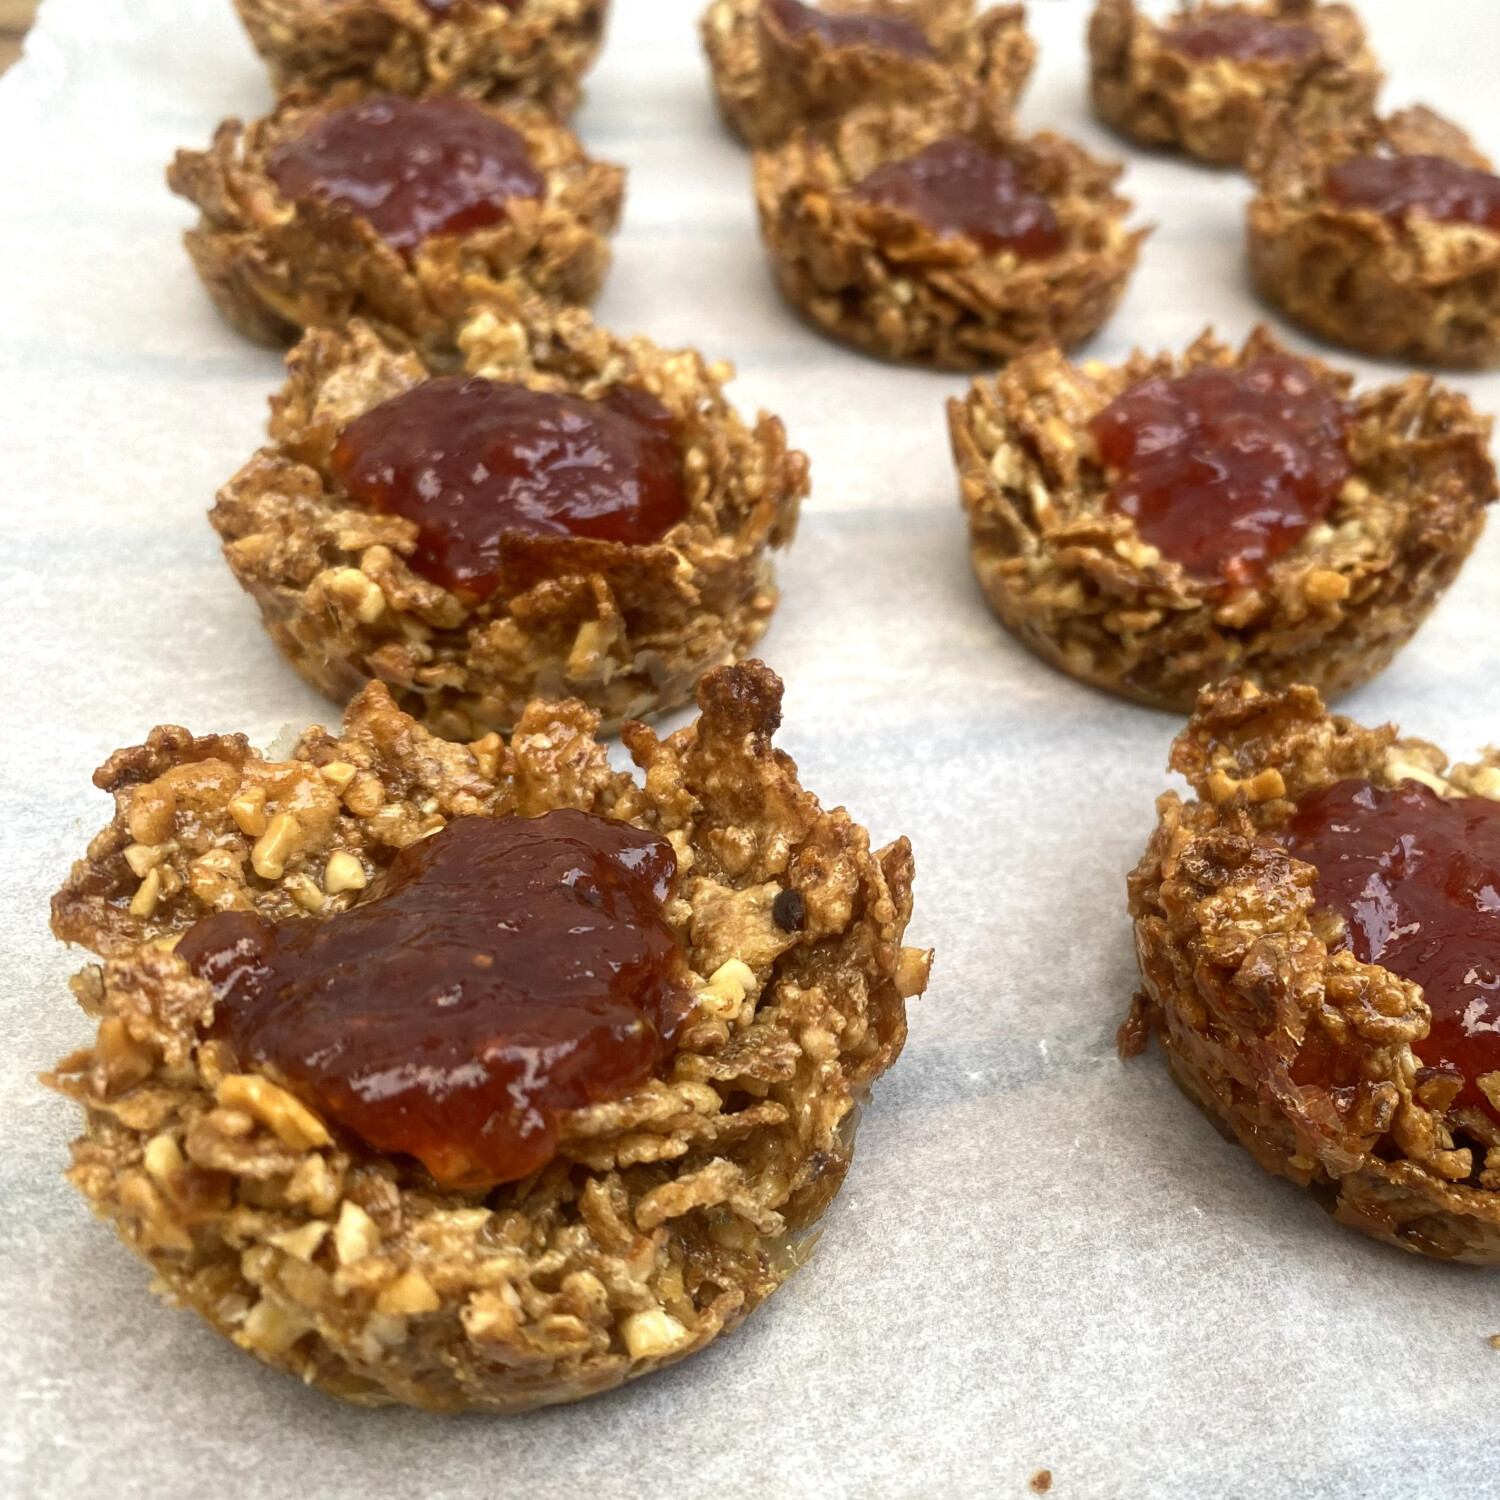
You can leave the nests plain (boring) or top them with jam, chocolate (a recipe for this is provided below), or whatever else you can think of.
Ingredients
- 150 g Special K cereal (or similar)
- 75 g butter
- 120 g golden syrup (probably Lyle's)
- 1/4 tsp (1.5 g) salt
- 35 g chopped hazelnuts
Method
-
Preheat a fan oven to 180 °C and grease a 12-cupcake tray with some extra butter. You could also use cupcake cases, but the pleats could make the cakes look a bit childish. They are hard to remove from a metal cupcake tray though, so the ideal would probably be a silicone cupcake tray.
-
Heat the butter, syrup and salt in a large saucepan. This is important because it will make it a lot easier to mix in the dry ingredients later without breaking too much of the cereal.
-
When the mixture has fully melted, boil it for 1 minute and 30 seconds so that it foams up.
-
Once the time is up, mix in the Special K and the chopped hazelnuts. Use a silicone spatula if possible, to avoid breaking the cereal pieces.
-
After you have fully combined the mixture, distribute it evenly into the wells in the cupcake tray. I do this by just dumping it all on top and using the silicone spatula to move it around.
-
To make the lumps of mixture into nests, use a rolling pin with one end covered in greaseproof paper to compress the centre of each one.
-
Now, put the tray in the oven. If topping with jam, remove the tray after 5 minutes, add a teaspoon of jam to each and then bake for another 2 minutes. If topping with chocolate, or leaving plain, just bake for 7 minutes straight through.
-
Remove the tray from the oven and leave to cool. If you used cases or a silicone tray, you can just wait for the nests to cool and harden, then you can remove them easily. If you're like me and used a metal tray, you'll have to wait for them to cool down a bit, then flex the tray and attempt to rotate the nests without breaking them. Once they rotate freely, you can lift them out.
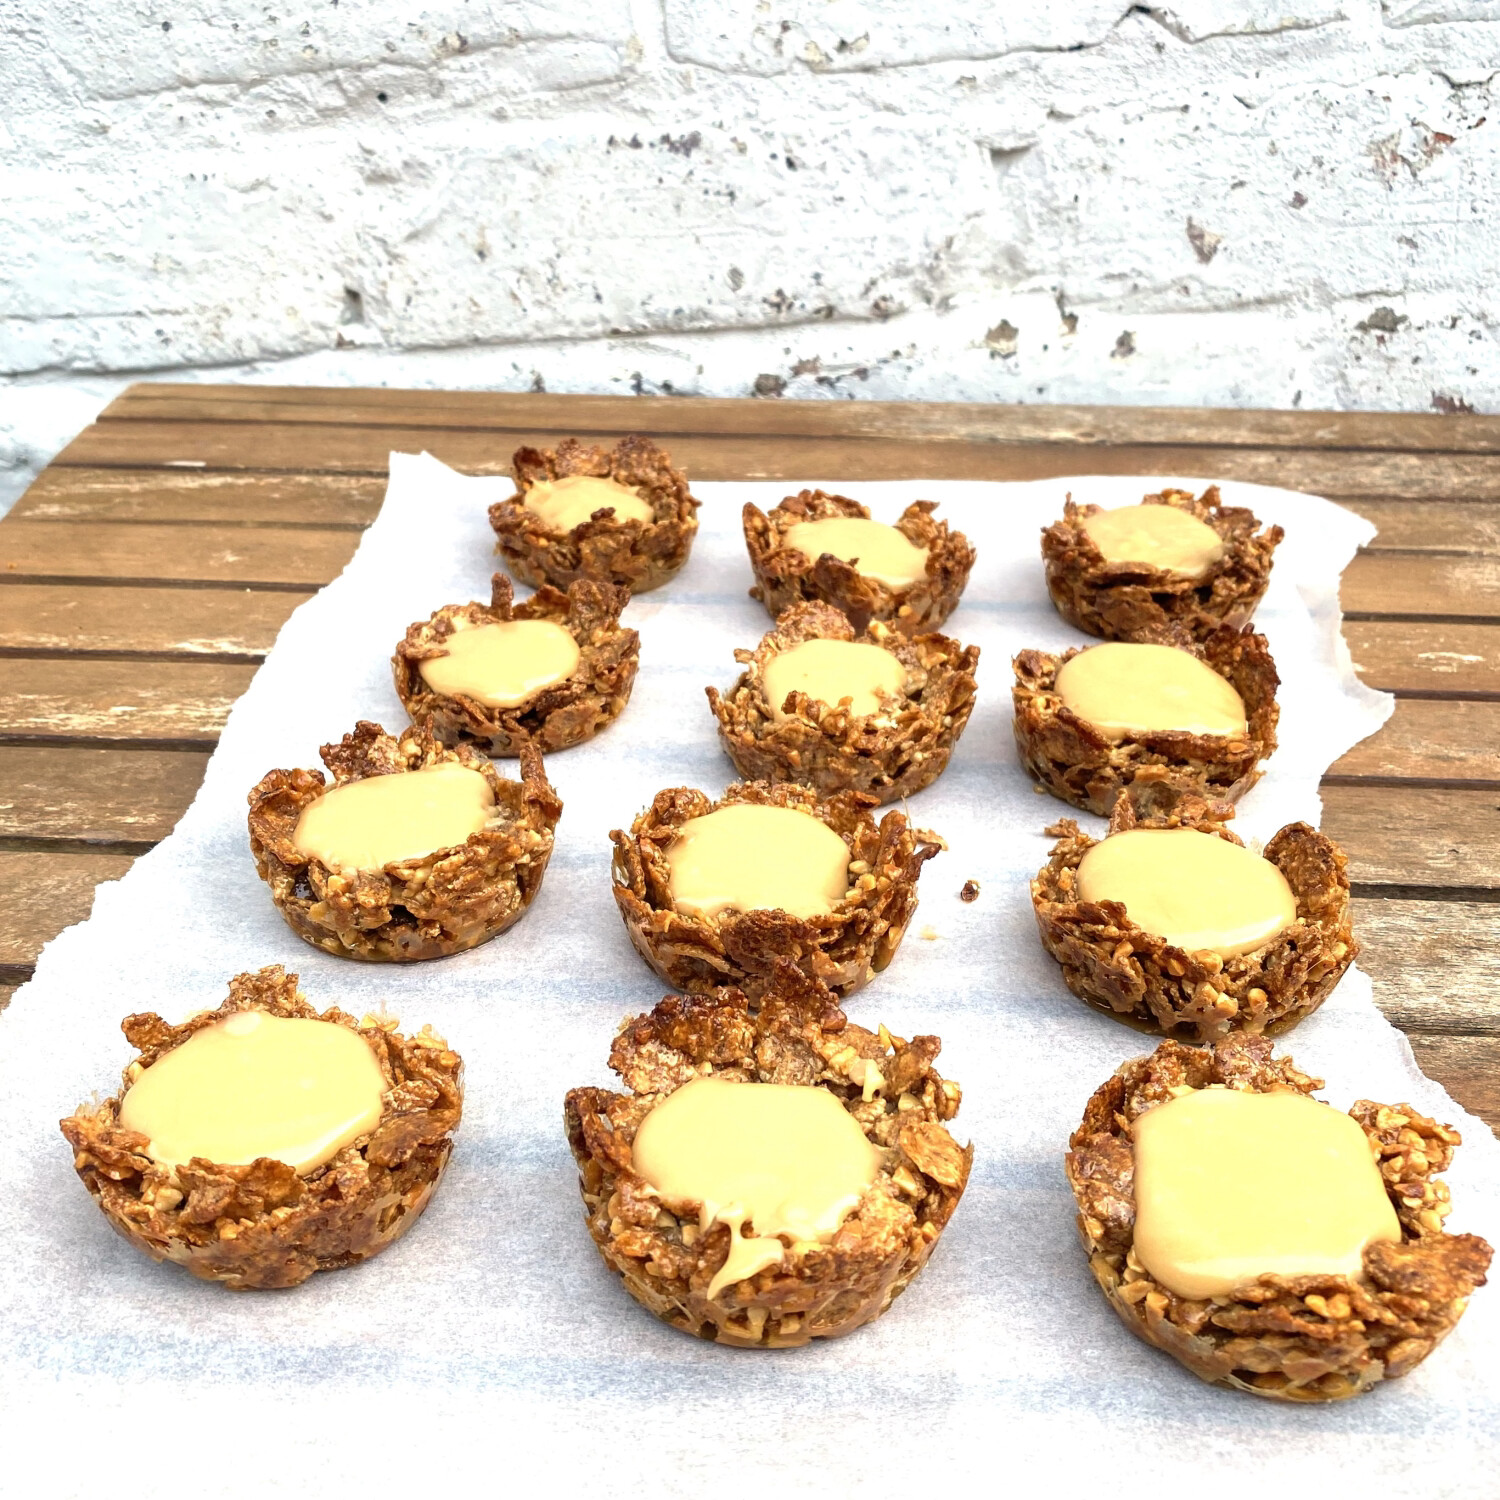
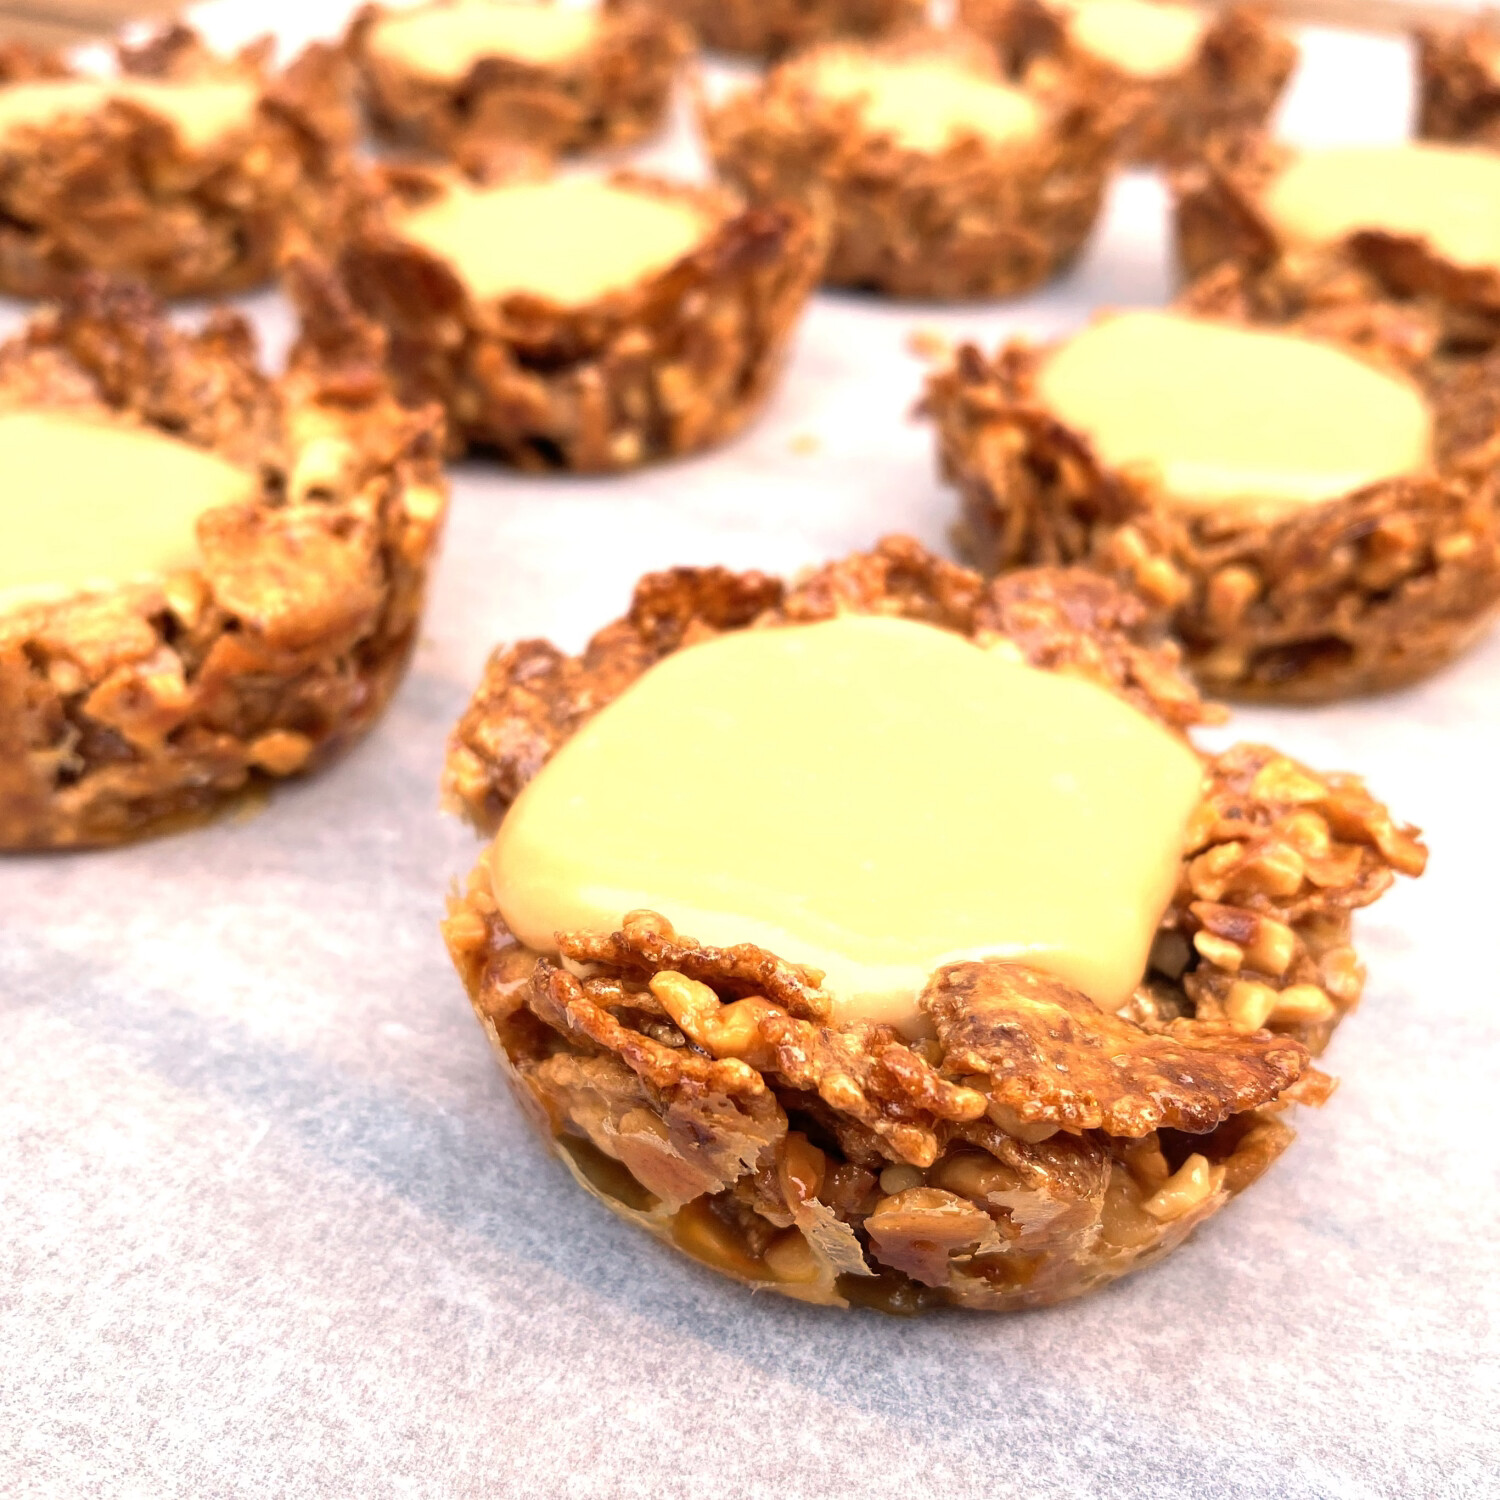
Chocolate topping
To make the nests more decadent, you may wish to give them a chocolate topping. I found a very large bar of Cadbury's Caramilk for a very cheap price at Save a Lot, so I bought it for this purpose. If the topping is hard, it will be weird compared to the chewy texture of the nests, so it's necessary to thin it a bit by adding some other ingredients.
Ingredients
- 120 g Cadbury Caramilk (20 squares of a 360g bar, but any other chocolate should work too)
- 10 g butter
- 10 g golden syrup
- boiling water as needed
Method
-
Melt the chocolate, butter and syrup together in a bain-marie. I used a borosilicate glass lab beaker in a saucepan, because the size was convenient. I appreciate that most people don't have this kind of equipment in their kitchen!
-
The mixture will almost certainly sieze when you start mixing it, so you'll need to add a bit of boiling water. Do this 1 teaspoon at a time. A couple of teaspoons should be enough, and I definitely wouldn't expect to add more than 5.
-
Once the mixture is smooth, pour or spoon it on to the top of the cooled nests. Approximately 1 teaspoon per nest should give the right appearance and avoid making them too sickly.
Images
Chocolate nests
Jam nests
Final remarks
These nests have a nice caramel flavour and chewy base, along with a satisfying crunch. The sweetness of the syrup is well balanced by the salt. They may help you to rekindle some of the memories of childhood without the risk of breaking any teeth or scratching up your mouth, unlike the chocolate cornflake clusters sold in many supermarkets.
Those are of course suitable for children, because they are jammy little ingrates who will either soon receive or have recently received a new set of teeth for free (in fact the tooth fairy will usually even pay them)...
If you find any mistakes or anything I have overlooked in this article, or simply have comments, please contact me by emailing ivan @ the address of this website.